- In the top bar of the Console, click the Resources tab.
- Under Resources, select Paper Stock.
Note: The Paper Stock table is divided into three columns Substrate, Weight, and Format. When you define a new paper, follow the order of these tabs. - To define a new substrate, in the Substrate column, click the Add new
 button.
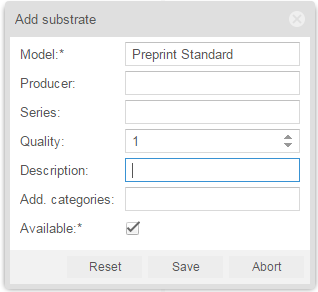
 - In the Add Material dialog box that appears, in the Model box, type
Preprint standard.

- Click Save.
A new substrate appears in the Substrate column. - Select the new paper (substrate), and in the Weight column, click the Add new
 button.
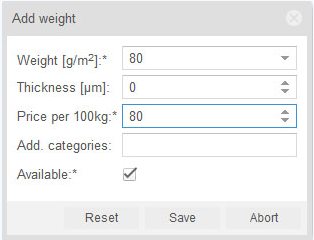
 - In the Add Weight dialog box that appears, in the Weight box, type
80. - In the the Price per 100kg box, type
80.
Note: For the most effective calculation any costing information should be entered.

- Click Save.
You have now created one weight-entry for your substrate. - Select the new weight entry and in the Format column, click the Add new
 button.
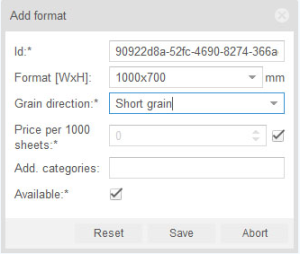
 - In the Format box, type
1000x700 (The longer side should always appear first). - In the Grain direction list, select Short grain,

- Click Save.
A new format appears in the Format column. - To save all changes, in the lower-right part of the screen, click Save.
- In the confirmation message that appears, Media were saved, click OK.
- You have created a new paper (substrate), a new weight for that substrate, and one format for that weight for that substrate.
 button.
 button.
 button.