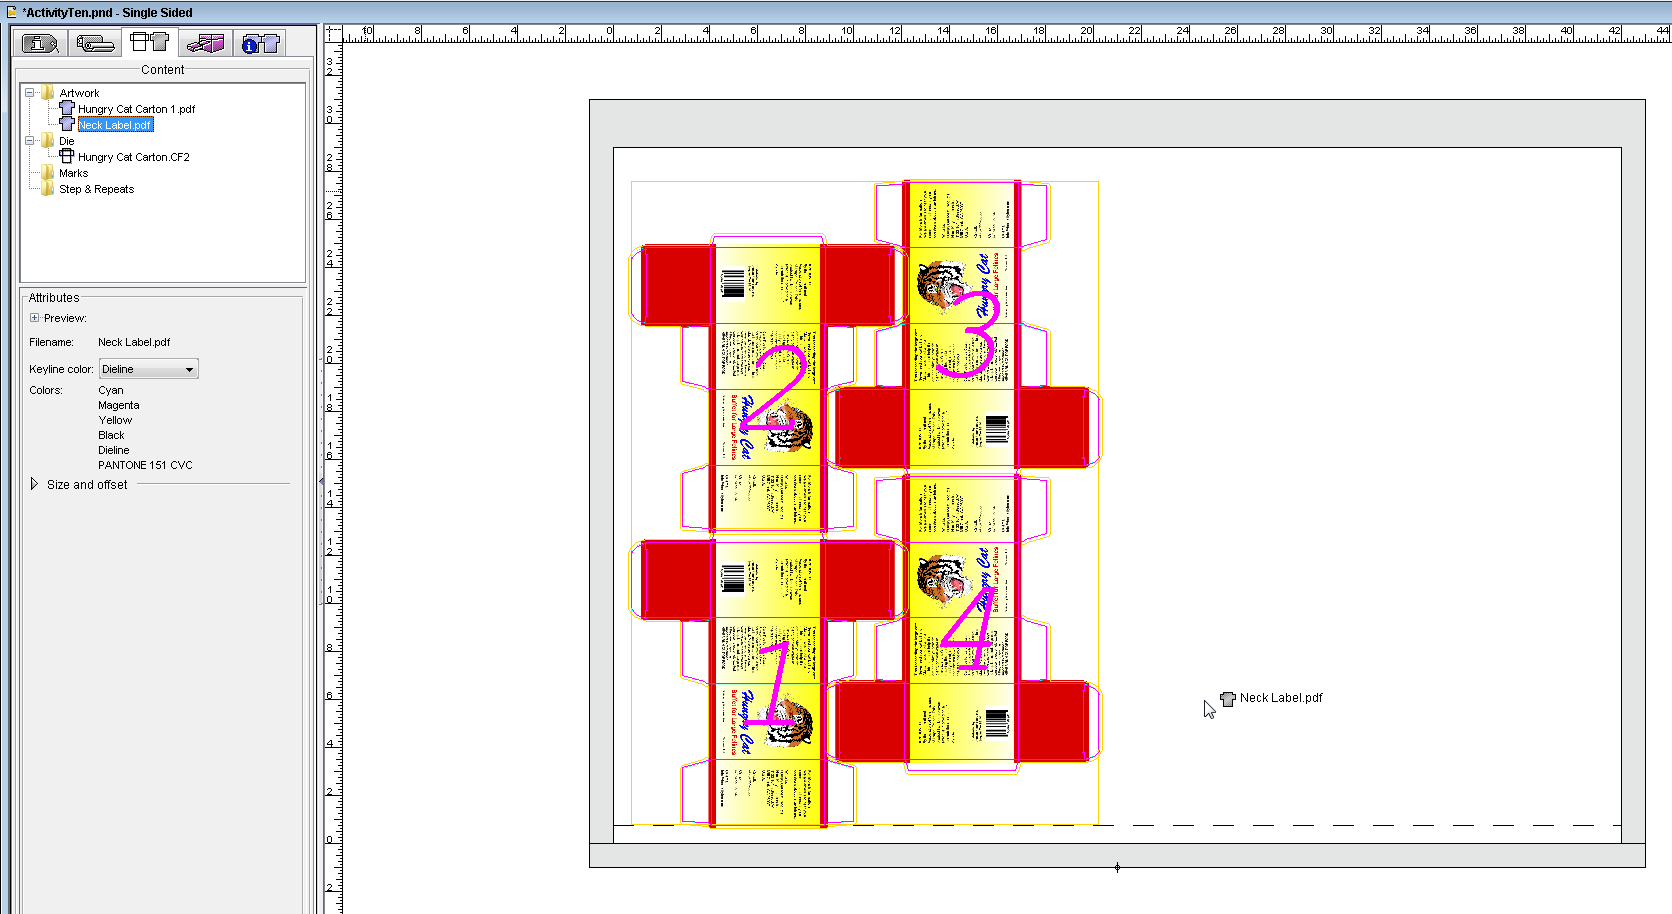
- Perform one of the following actions:
- From the File menu, select Import > Artwork.
- In the Pandora toolbar, click the Import Artwork icon
 .
.
- In the Import Artwork dialog box, locate where you are storing the sample activity files.
- Locate the
Neck Label folder. Select the Neck Label.pdf file. Click Open. - Drag the
Neck label.pdf file into the layout view.

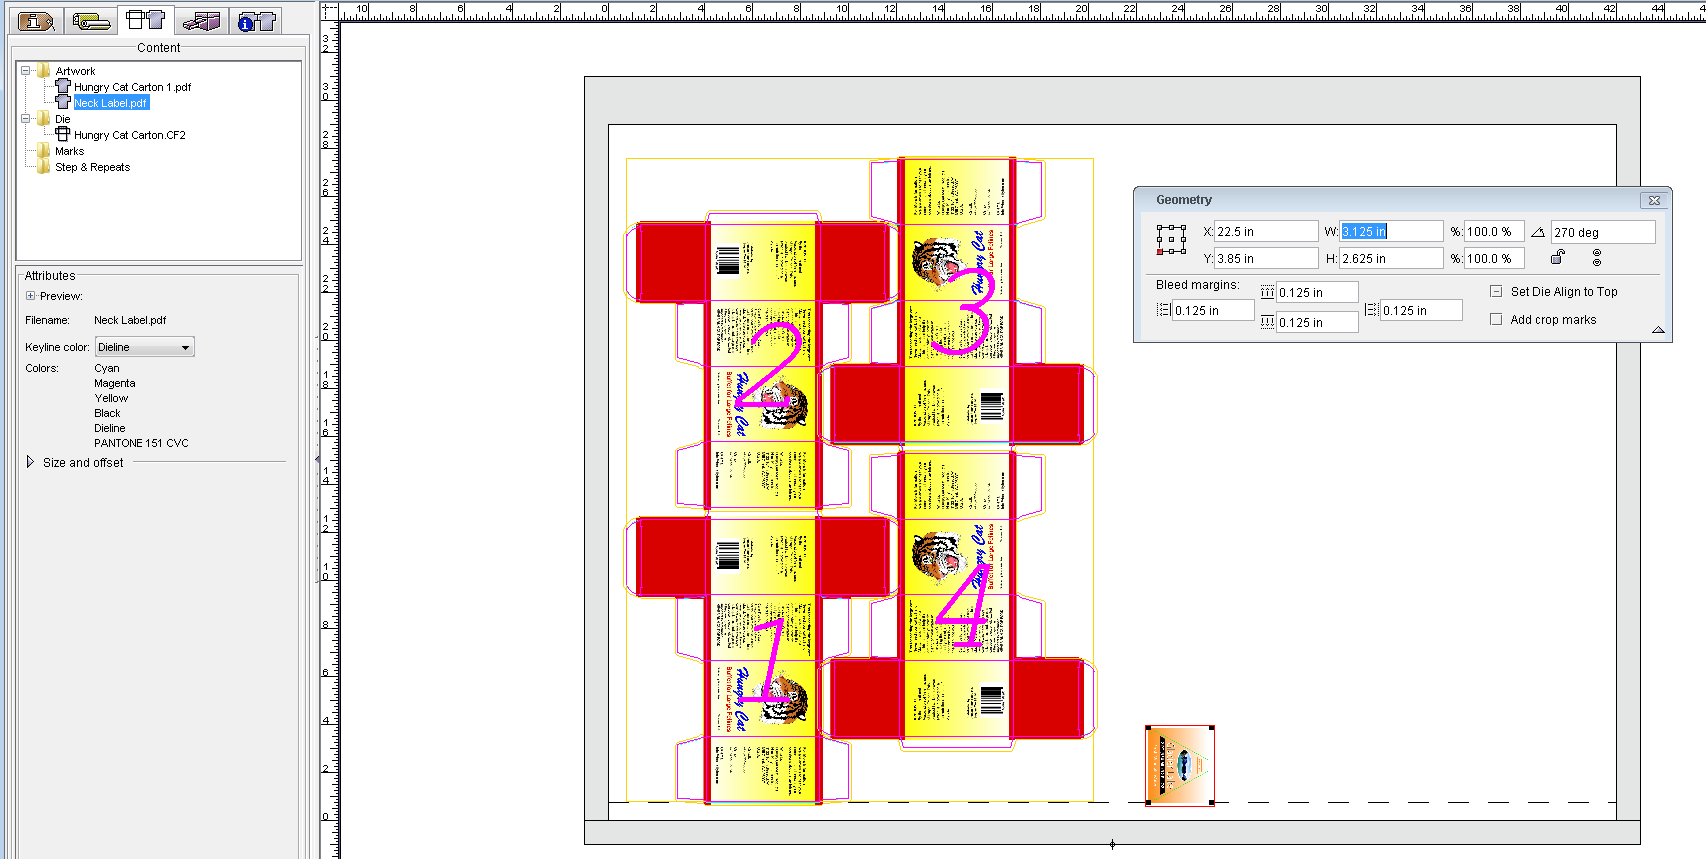
- If it is not still open, from the Window menu, select Show Geometry Palette.
- In the reference point diagram, select the lower-left point.
- In the Rotation box, type
270. - In the X box, type
22.5 in. (571.5 mm).
In the Y box, type 3.85 in. (97.8 mm). - Press Enter.

- Perform one of the following actions:
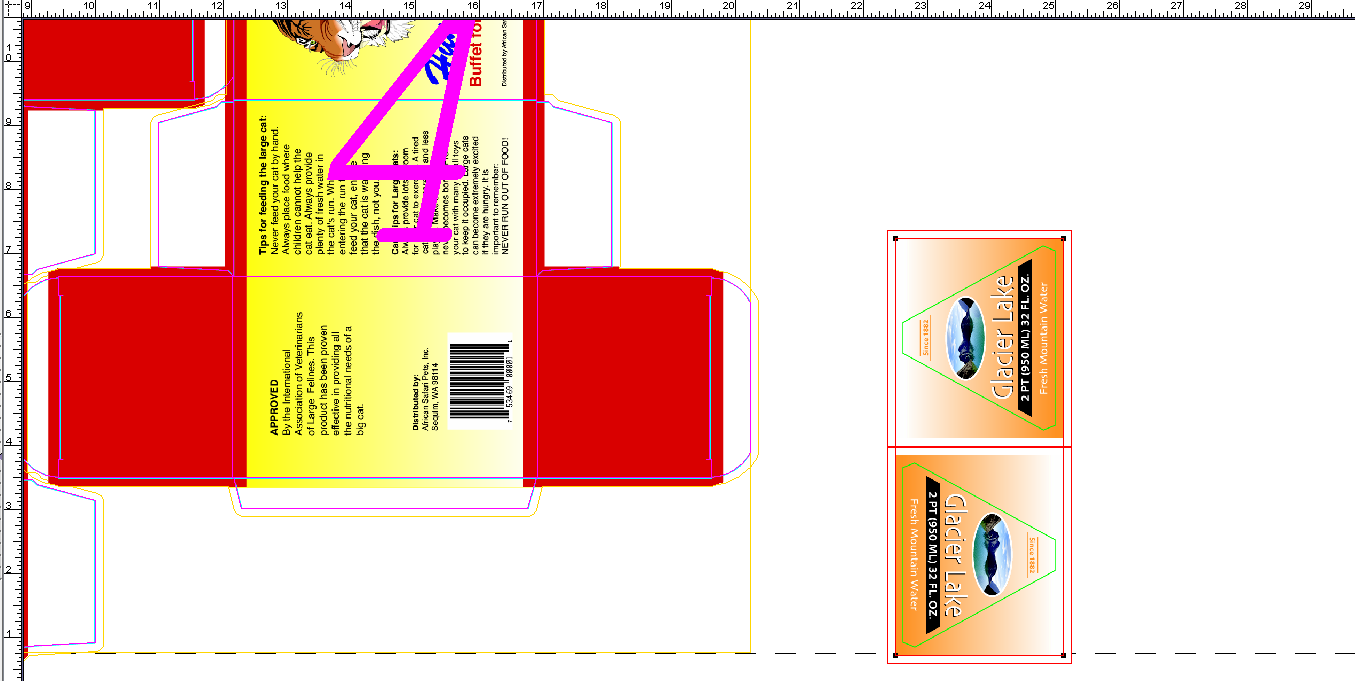
- From the Edit menu, copy and paste a second version of the pdf artwork.
- Right-click and select Copy. Then right-click and select Paste.
- With the second copy of the artwork still selected, in the Rotation box of the Geometry palette, type
90. (Or, right-click and select Rotate 90 degree.) - Using the Zoom and Selection tool (or arrow keys), position the second copy of the label directly above the first. Align both artworks so that edges are touching.
- With both objects selected, select Object menu > Group.

 .
.

