Page tree

Versions Compared

Key

  • This line was added.
  • This line was removed.
  • Formatting was changed.
Comment: Published by Scroll Versions from space PANTWK and version Pandora_Training_Working_8.4
Sv translation
languageen

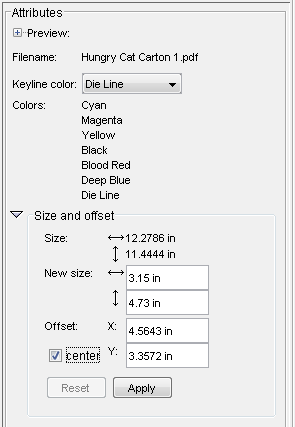
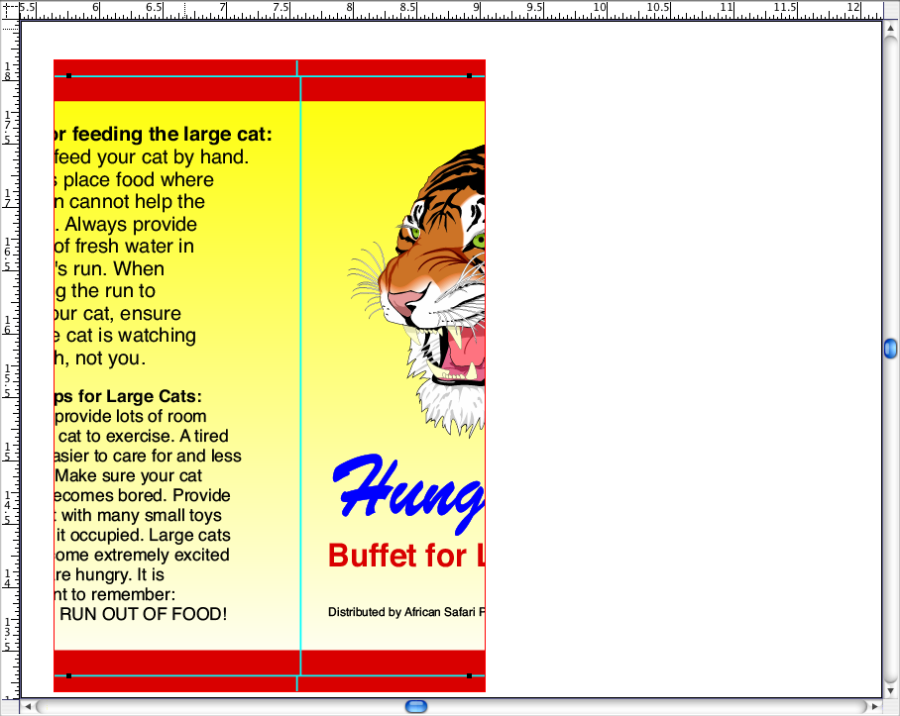
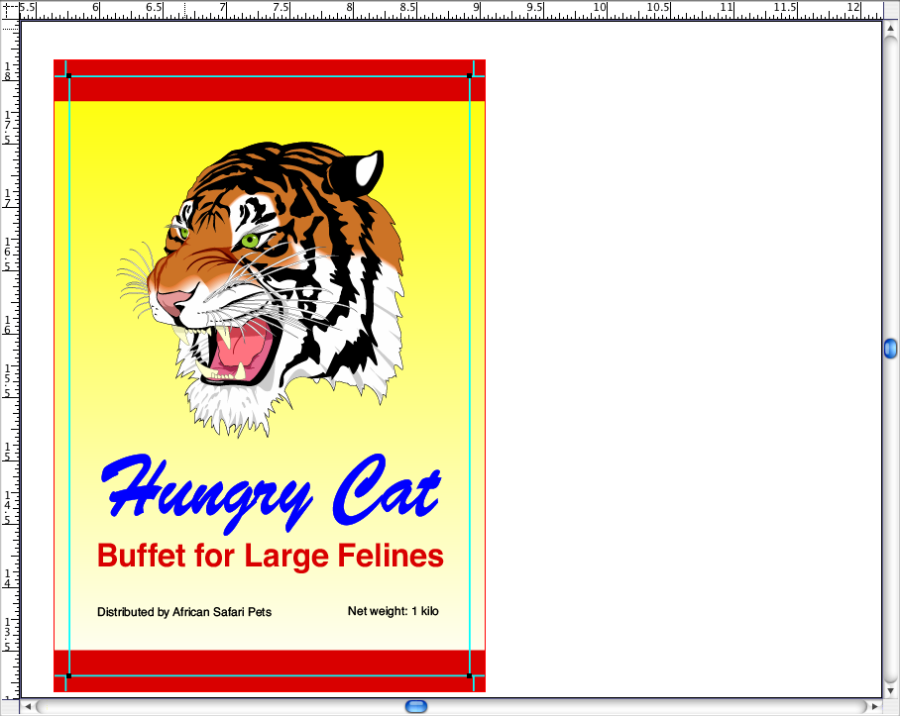
Note: If you enabled Hi-Res Preview in Objective 4, you will need to disable it for this exercise to see the changes that you make while working with this particular file.

  1. On the Content tab under Attributes, click the Size and offset arrow.
  2. In the New size area, in the horizontal box, type 3.15 in. (80.01 mm). In the vertical box, type 4.73 in. (20.142 mm).
  3. Select the Center check box.


  4. Click Apply.
    The artwork is changed to a smaller size, and because you selected Center, the view changes to show what was formally the center of the carton. 
  5. To shift the image to display the front panel of the carton, using the Ruler tool , measure from the left edge of the new size (indicated by a black dot) to the vertical die line in the center of the viewable area.
    Note the horizontal value displayed in the Pandora status bar at the bottom of the layout view.
  6. In the Offset boxes, in the X box, after the existing measurement, type +1.82 in.(+46.228 mm) .
    Note: The final result should look like this: 4.5643+1.82 (5.9338+46.228). Make sure you don't replace the whole value with only +1.82 in (+46.228 mm).
  7. Clear the Center check box, and then click Apply.
    Note the image is shifted to display the front panel of the carton. 

Note: Resizing the artwork affects all instances of the artwork. Pandora also maintains any existing bleed paths that have been modified to resolve bleed overlaps.

Sv translation
languagefr

Remarque : si vous avez activé l'aperçu haute résolution à l'objectif 4, vous devrez le désactiver pour cet exercice afin d'afficher les modifications que vous effectuez lorsque vous travaillez avec ce fichier en particulier.

  1. Dans l'onglet Contenu, sous Attributs, cliquez sur la flèche Taille et décalage.
  2. Au niveau de la zone Nouvelle taille, dans le champ Horizontale, saisissez 3,15 po. (80,01 mm). Dans le champ Verticale, saisissez 4,73 po. (20,142 mm).
  3. Cochez la case Centrer.


  4. Cliquez sur Appliquer.
    La taille de la maquette est réduite, et comme vous avez sélectionné Centrer, la vue change pour afficher ce qui était précédemment le centre du carton. 
  5. Pour décaler l'image et afficher le panneau avant du carton, utilisez l'outil Règle et mesurez à partir du bord gauche de la nouvelle taille (indiqué par un point noir) jusqu'à la ligne de découpe verticale au centre de la zone d'affichage.
    Notez que la valeur horizontale est affichée dans la barre d'état Pandora au bas de la vue Mise en page.
  6. Dans les zones Décalage, dans la zone X, après la mesure existante, saisissez +1,82 po.(+46,228 mm) .
    Remarque : le résultat final doit ressembler à ceci : 4,5643+1,82 (5,9338+46,228). Assurez-vous de ne pas remplacer la valeur entière par seulement +1,82 po (+46,228 mm).
  7. Décochez la case Centrer, puis cliquez sur Appliquer.
    Notez que l'image est décalée pour afficher le panneau avant du carton. 

Remarque : le redimensionnement de la maquette a une incidence sur toutes ses instances. Pandora conserve également tous les chemins de fond perdu existants qui ont été modifiés pour résoudre les chevauchements de fonds perdus.